Configure Output Channel
Explanation
Output Channels are managed via the Output panel. In order to use
most options in the Output panel at least one Output Channel must be configured. Read more about
Use Output.
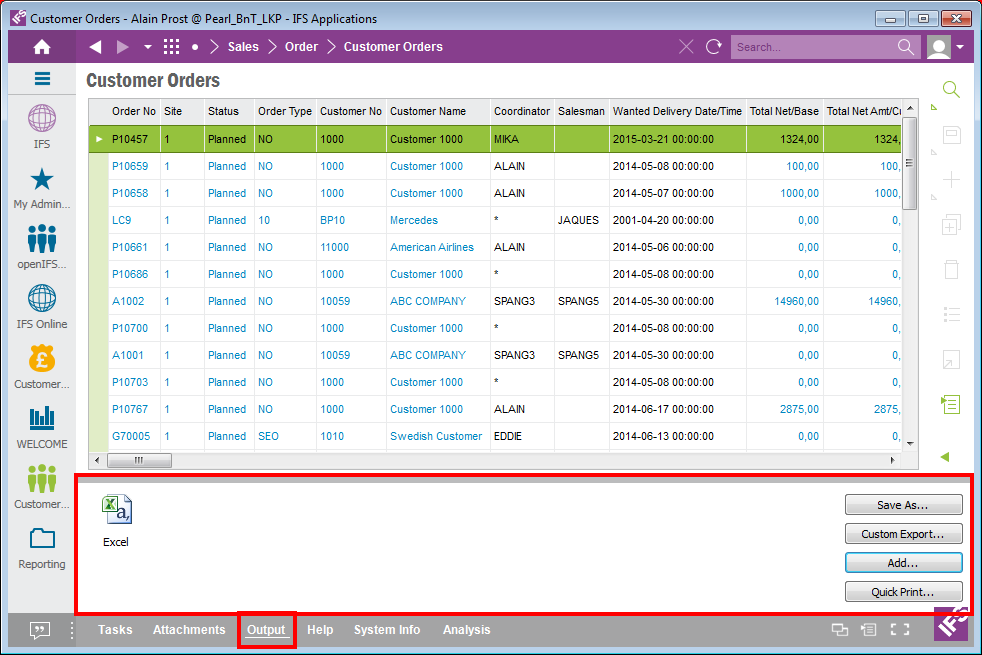
Figure 1: Output in Context pane
Prerequisites
The context pane must display the Output panel. Read more about
Configure
Context Pane.
System Effects
The Output Channels you define are stored in your user profile.
Window
N/A
Related Window Descriptions
N/A
Procedure
To create an Output Channel open the Output panel in the Context pane. If the
Output panel is not visible
read about how to configure it in
Configure
Context Pane.

Figure 2: Output Panel
Click Add button and the dialog Configure Output dialog is displayed
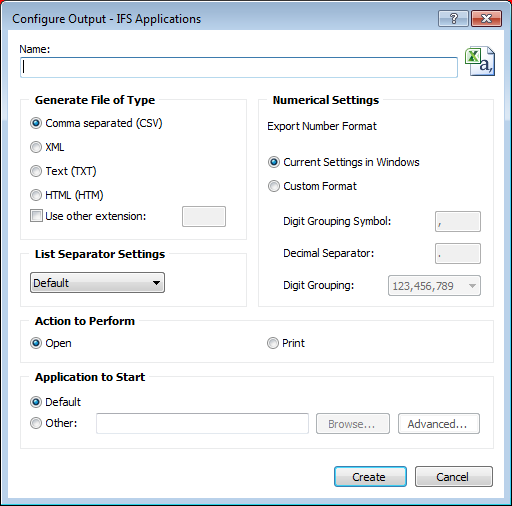
Figure 3: Configure Output dialog.
The dialog is divided into several sections.
- Name. This is where you enter the name for the Output Channel
- Generate File of Type. This is where you define the file type and
file extension settings. Five file types are supported, CSV, XML, Text, HTML
and Other Extension. To change the file extension of the file from the default file
extension select Use other extension check box and enter the required file
extension in the text box.
- Numerical Settings. This is where you define the numerical
settings for the file, read more in Numerical
Settings.
- List Separator Settings. List separator settings only apply for the file type CSV. If this is set to
Default the windows default separator will be used in CSV format. If you
change this setting, the CSV files will be created using the custom list separator
specified.
- Action to Perform. Here you specify what to do with the output
file. Two options are available:
- Open: Select this option to open the generated file using the
default application associated with the file type or using the custom
specified application. If there is no default application standard
windows file open dialog is displayed allowing you to select the program
a program from a list.
- Print: Select this option to print the generated file using the default
printer configured for the default application associated with the file.
- Application to Start. This is where you define which application
to start, read more in Application to Start.
Click on the Create button and your output channel is created.
Under Numerical Settings you can set the numerical settings.
- Current Settings in Windows - This will apply current system settings according
to Windows numeric format. If the format is Number, the data will be changed
according to the Windows number format. If the data format is Currency, the
data will be changed according to the Windows currency format. If the data format
is Percent, the data will be changed according to the Windows percent format.
If the data format is not specified, the data will be changed according to the
Windows number format. For instance if the current settings in windows
specifies the number of digits after decimals as 3 it will truncate the
values at the 3rd decimal digit. If this is not intended "Custom Format"
should be used.
- Custom Format - This will replace the existing digit grouping symbol, decimal separator
and the digit grouping pattern of the number when exporting. The format of
the number will be retained. Note: Custom format settings can only be
used to alter existing settings in the application. For an example, if
the digit grouping symbol is not visible in the application for a particular
column, setting a custom digit grouping symbol would not set a digit
grouping symbol for that column when the data is exported.
If the Default option is selected, the file will be loaded in the default
application registered for the respective file extension. If Other option
is selected you can specify an application to load the file in. If there is no default
application or if the other application you specified cannot be found windows will
prompt you to select an application to open the file in.
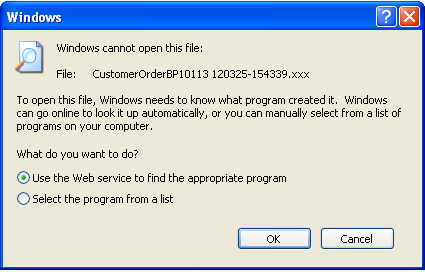
Figure 4: Application to Start Dialog Box
Click on Advanced button to open the Advanced Command Line Options
dialog. This allows the specification of advanced command line arguments. The place where
the file name will be passed is specified by the @FILENAME symbol. So you have to
add that to the list of arguments
For example to open a file in outlook you can give outlook.exe as the
application to start and give the advanced command line argument like below, so
that the outlook considers the specified file as an attachment. In outlook /a
followed by a specified filename is considered as an attachment.
/a @FILENAME
Note: Applications may have different parameters. You must know which
command line arguments to use in the application you are starting.
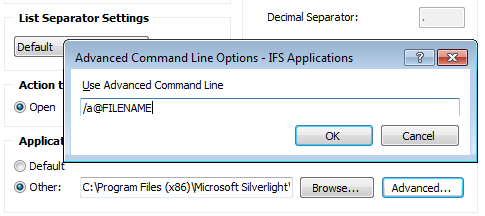
Figure 5: Advanced Command Line Arguments
To edit or delete an output channel right-click on the Output Channel in the
context panel and select Edit or Delete from the context menu.
Edit will open the Configure Output dialog, see above.
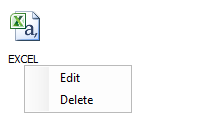
Figure 6: Context Menu options on Output
